
Building a sitemap sounds like a simple checklist item for website owners. Yet forgetting just one important step in the process can block up to 50 percent of your site from being indexed by search engines. You might think adding a sitemap XML file is enough and you can move on, but a single minor mistake can actually hide massive chunks of your content from Google and Bing. Mastering every detail of the sitemap workflow is what sets apart sites that get found from those that stay invisible.
Table of Contents
- Step 1: Identify Your Website Structure
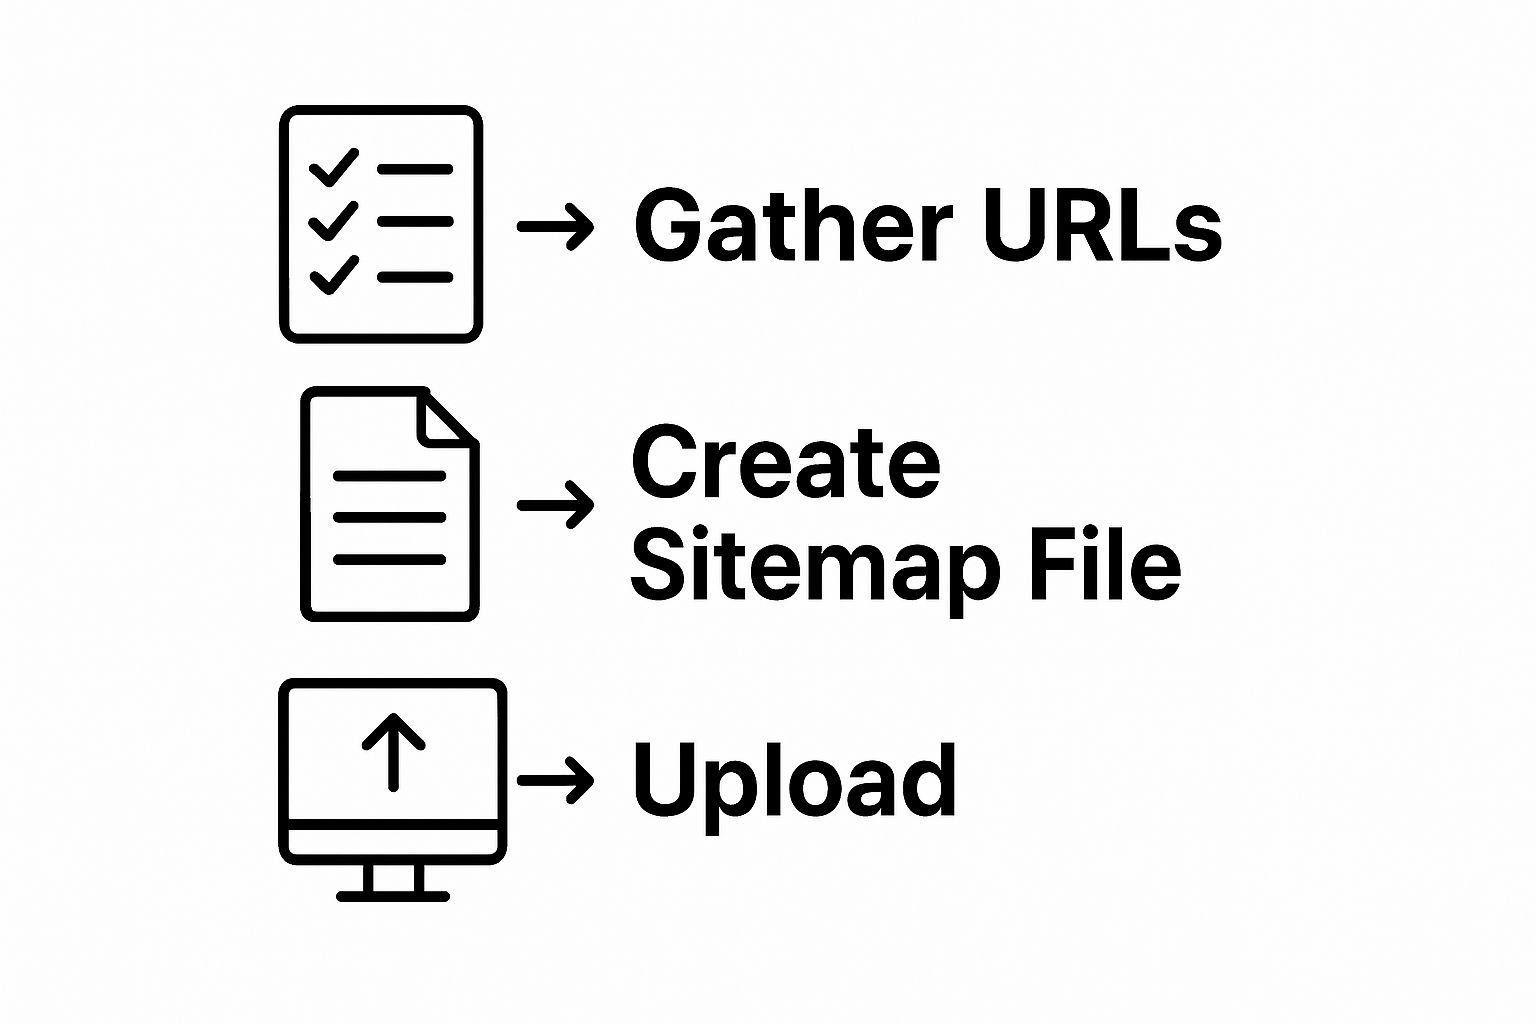
- Step 2: Gather URLs for Inclusion
- Step 3: Choose a Sitemap Format
- Step 4: Create the Sitemap File
- Step 5: Upload the Sitemap to Your Server
- Step 6: Submit Your Sitemap to Search Engines
Quick Summary
| Key Point | Explanation |
|---|---|
| 1. Identify your website structure | Map out your website’s content and interconnections to establish a solid foundation for your sitemap. |
| 2. Collect URLs systematically | Gather a clean, comprehensive list of active URLs, ensuring all important pages are included for your sitemap. |
| 3. Choose XML sitemap format | Opt for XML format to effectively communicate your website’s structure and enhance search engine indexing. |
| 4. Validate and upload your sitemap | Create an error-free sitemap file and upload it to your server’s root directory for accessibility by search engines. |
| 5. Submit your sitemap to search engines | Notify search engines like Google and Bing by submitting your sitemap URL, which assists in faster indexing of your content. |
Step 1: Identify Your Website Structure
Creating an effective sitemap begins with a comprehensive understanding of your website’s structural framework. This critical first step involves mapping out how your digital content is organized and interconnected. Before diving into technical details, you need to develop a clear mental model of your website’s architecture that will serve as the foundation for your sitemap.
Start by conducting a thorough content inventory. Walk through each section of your website and document the different types of pages and content categories you have. This process requires careful examination of your homepage, main navigation menu, subpages, blog sections, product pages, and any specialized content areas. Pay close attention to how these pages relate to each other and the logical pathways users might take when exploring your site.
Visual mapping can be incredibly helpful during this phase. Consider using digital tools like draw.io or even simple spreadsheet software to create a hierarchical representation of your website’s structure. Sketch out your main categories, subcategories, and how different content sections connect. This visual approach helps you identify potential navigation challenges and ensures your sitemap will accurately represent your website’s complexity.
For most websites, content typically falls into several primary categories: static pages (about, contact), dynamic content (blog posts, news), product or service pages, and functional pages like search results or user account sections. Carefully analyze how these different content types interrelate and the most intuitive ways users might navigate between them.
As you map your structure, think from a user’s perspective. Prioritize logical, intuitive pathways that allow visitors to find information quickly and easily. A well-structured website anticipates user needs and creates smooth, predictable navigation experiences. Discover more about creating user-friendly website structures to enhance your sitemap development strategy.
By the end of this step, you should have a comprehensive, visual representation of your website’s structure that clearly shows how different pages and content sections interconnect. This foundational work will streamline the subsequent steps of sitemap creation and ensure a more effective, user-friendly website architecture.
Step 2: Gather URLs for Inclusion
After establishing your website’s structural framework, the next crucial step is collecting all the URLs that will be part of your sitemap. This process requires meticulous attention to detail and a systematic approach to ensure no important pages are overlooked. Gathering URLs is more than simply listing web addresses it is about creating a comprehensive inventory of your site’s content.
Begin by utilizing your website’s existing navigation structure as a primary source for URL collection. Manually navigate through each main menu category, clicking through every page and recording its complete URL. This hands-on approach allows you to verify the actual accessibility of each page and confirm that they represent current, active content. Pay special attention to pages that might be buried deep within your site structure, such as blog archives, category pages, or specialized resource sections.
Automated tools can significantly streamline this URL gathering process. Web crawling tools like Screaming Frog or Google Search Console provide comprehensive website scans that can extract every accessible URL with minimal manual effort. These tools not only list URLs but often provide additional metadata about each page, such as response codes, which can help you identify and exclude non-functional or redirect pages from your final sitemap.
Dynamic websites with frequently changing content require extra vigilance. For sites with blog posts, product pages, or user-generated content, consider implementing an automated system that regularly updates your URL list. This might involve using content management system plugins or custom scripts that can generate an updated list of URLs as new content is published.
Learn more about optimizing your website’s search engine performance to complement your sitemap creation strategy. As you compile your URLs, be strategic about inclusion. Not every single URL needs to be in your sitemap. Exclude pages like duplicate content, non-indexable pages, pages with canonical tags pointing elsewhere, and internal administrative sections.
By the conclusion of this step, you should have a comprehensive, clean list of URLs representing the most important and current content on your website. This curated collection will serve as the foundation for constructing your final sitemap, ensuring search engines can efficiently discover and index your digital content.
Step 3: Choose a Sitemap Format
Selecting the appropriate sitemap format is a critical decision that directly impacts how search engines will interpret and index your website’s content. While multiple formats exist, XML has emerged as the standard protocol for most websites due to its flexibility and widespread support among search engines. Understanding the nuances of different sitemap formats will help you make an informed choice that best represents your website’s structure and content.
XML sitemaps are the most recommended format for most websites. These machine-readable files provide search engines with a comprehensive map of your website’s URLs, including additional metadata like the last modification date, update frequency, and relative page importance. The XML format allows for precise communication with search engine crawlers, enabling them to efficiently discover and index your content. When creating an XML sitemap, ensure you follow the standard protocol of using fully qualified URLs and maintaining a clean, structured file that does not exceed 50,000 URLs or 50MB in size.
For websites with diverse content types, consider creating multiple specialized sitemaps. Large websites might benefit from separating sitemaps by content category such as blog posts, product pages, or media galleries. This approach allows for more granular control and helps search engines understand the relationship between different sections of your website. Image and video sitemaps can provide additional context for multimedia content, potentially improving your visibility in specialized search results.
Alternative formats like HTML sitemaps remain valuable, particularly for user experience. While search engines prefer XML formats, HTML sitemaps provide a human-readable overview of your website’s structure. These can be especially helpful for users navigating complex websites and can serve as a backup navigation method. Explore advanced strategies for improving website navigation to complement your sitemap development.
As you finalize your sitemap format, verify that your chosen method meets key technical requirements.
Below is a comparison table that outlines the pros and cons of various sitemap formats mentioned in the guide, helping you choose the right method for your website.
| Sitemap Format | Best For | Advantages | Limitations |
|---|---|---|---|
| XML Sitemap | Most websites | Widely supported by search engines, includes metadata | File size/URL limits, less user-friendly |
| HTML Sitemap | User experience/navigation | Human-readable, helps visitors navigate complex sites | Not prioritized by search engines |
| Image/Video Sitemap | Multimedia-focused websites | Enhances visibility of media in specialized search | Requires separate files, more setup |
| Ensure your sitemap is UTF-8 encoded, placed in the root directory of your website, and referenced in your robots.txt file. By the end of this step, you should have a clear, structured sitemap format that effectively communicates your website’s content structure to search engines and provides a blueprint for efficient crawling and indexing. |
Step 4: Create the Sitemap File
With your URLs gathered and format selected, the next critical phase involves physically creating your sitemap file. This step transforms your collected information into a structured document that search engines can readily understand and process. Precision is key when constructing your sitemap, as even minor errors can prevent search engines from properly indexing your content.
Manual creation of an XML sitemap requires careful attention to specific formatting requirements. Open a plain text editor like Notepad or Visual Studio Code and begin by establishing the XML declaration and urlset namespace. Your file should start with the XML version and encoding declaration, followed by the opening urlset tag that defines the sitemap protocol. For each URL in your collection, you will create a distinct URL entry containing the location tag, which represents the full webpage address. Optional tags like lastmod (last modification date), changefreq (update frequency), and priority can provide additional context to search engines about your content’s significance.
While manual creation is possible, automated tools can dramatically simplify the sitemap generation process. Platforms like WordPress offer plugins such as Yoast SEO or Google XML Sitemaps that automatically generate and update your sitemap as new content is published. For websites built on other platforms, online sitemap generators can quickly convert your URL list into a properly formatted XML file. Explore our comprehensive robot.txt XML sitemap generator to streamline your sitemap creation workflow.
After generating your sitemap, perform a thorough validation check. Utilize online XML sitemap validation tools to ensure your file adheres to proper syntax and contains no structural errors. Verify that all URLs are fully qualified, meaning they include the complete web address including the http:// or https:// protocol. Confirm that no sensitive or non-public pages are inadvertently included, which could potentially expose confidential information.
Once validated, save your sitemap with a standard filename like sitemap.xml and upload it to the root directory of your website. This placement allows search engines to easily locate and interpret your site’s structure. By completing this step, you have created a comprehensive roadmap that will help search engines more effectively crawl and index your website’s content.
Step 5: Upload the Sitemap to Your Server
Uploading your sitemap represents the critical bridge between your meticulously crafted document and search engine discovery. This step transforms your sitemap from a static file into an active navigation tool that guides search engine crawlers through your website’s content landscape. The process requires precision and strategic placement to ensure maximum visibility and indexing efficiency.
For most website owners, file upload will occur through File Transfer Protocol (FTP) or the file management section of their web hosting control panel. Connect to your web server using credentials provided by your hosting service, and navigate to the root directory. This is typically the public_html or www folder where your main website files reside. The sitemap must be placed directly in this root directory to ensure search engines can easily locate and access it without additional navigation.
Website platforms like WordPress offer more streamlined approaches. Many SEO plugins automatically generate and place the sitemap in the correct location, eliminating manual upload requirements. For those using manual upload methods, verify your sitemap file is named precisely sitemap.xml and contains no extraneous characters or formatting that might confuse search engine crawlers. Maintaining exact naming conventions is crucial for successful discovery.
Explore advanced techniques for website optimization to complement your sitemap strategy. After uploading, take an additional step to inform search engines about your new sitemap. This can be accomplished by submitting the sitemap URL through Google Search Console and Bing Webmaster Tools. These platforms provide direct channels for notifying search engines about your updated site structure.
To confirm successful upload and configuration, perform a series of verification checks. Use online sitemap testing tools to validate accessibility and structure. Manually navigate to your sitemap’s web address (typically yourdomain.com/sitemap.xml) to ensure it loads correctly. Within Google Search Console, check the sitemaps section to confirm successful submission and observe any potential indexing issues.
The following table summarizes common verification steps to ensure your sitemap is created, uploaded, and submitted correctly for optimal indexing and crawlability.
| Verification Step | Purpose | How to Complete |
|---|---|---|
| Validate XML structure | Ensure no errors prevent search indexing | Use online XML sitemap validators |
| Check sitemap accessibility | Confirm search engines can locate the sitemap | Navigate to yourdomain.com/sitemap.xml |
| Verify correct placement | Guarantee sitemap is in the root directory | Upload file to public_html/www folder |
| Submit via search console | Notify search engines and trigger crawling | Use Google Search Console/Bing Webmaster |
| Inspect indexing status | Monitor successful crawling and indexing | Check dashboard metrics for errors |
| By completing this step, you have created a powerful navigation blueprint that will help search engines more effectively understand and index your website’s content. |

Step 6: Submit Your Sitemap to Search Engines
Submitting your sitemap to search engines represents the final critical step in ensuring your website’s content becomes discoverable and indexable. This process transforms your meticulously crafted sitemap from a static file into an active roadmap for search engine crawlers, signaling the availability of your digital content across major search platforms.
Google Search Console emerges as the primary submission platform for most website owners. Begin by creating an account and verifying ownership of your website through various authentication methods such as uploading an HTML file, adding a DNS record, or connecting through Google Analytics. Once verified, navigate to the Sitemaps section and enter the complete URL of your sitemap file. This direct submission provides immediate notification to Google about your website’s structure and available content, expediting the indexing process.
Bing Webmaster Tools offers a similar submission process for Microsoft’s search ecosystem. Create an account, verify your website ownership, and submit your sitemap through their dedicated interface. Many website owners overlook Bing, but it represents a significant search market share, particularly for certain demographic and geographic segments. By submitting to multiple search engines, you maximize your website’s potential visibility.
Discover advanced strategies for enhancing your website’s search performance to complement your sitemap submission process. Beyond manual submissions, consider configuring your robots.txt file to explicitly reference your sitemap location. This additional step provides an alternative discovery method for search engine crawlers, ensuring redundancy in your indexing strategy.
To verify successful submission, monitor your search console dashboards for indexing status and potential errors. Look for metrics such as the number of URLs submitted versus indexed, and investigate any warnings or exclusion notifications. Search engines typically provide detailed feedback about sitemap processing, allowing you to quickly address any structural or content issues that might impede proper indexing. By completing this step, you have created a comprehensive pathway for search engines to understand, crawl, and potentially rank your website’s content more effectively.
Ready to Simplify Your Sitemap Strategy?
Navigating technical tasks like sitemap creation can feel overwhelming. Maybe you struggle to organize all your URLs, choose the right format, or ensure your sitemap is ready for search engines. We know these common challenges can stall your SEO results and cost precious time. That is where smart, reliable tools make all the difference. If you are looking for practical solutions that match the step-by-step process you just read about, explore our curated resources in Other Tools – Tech Qafila. These specialized options are designed to eliminate confusion and save you hours on technical setup.
Let us help you overcome sitemap roadblocks and speed up your results. Take the next step by visiting Tech Qafila to discover the right tools and tactics for your site. Do not wait. Build an optimized website structure and boost your SEO today with our expert solutions.
Frequently Asked Questions
What is a sitemap and why is it important?
A sitemap is a structured file that lists all the URLs of a website, helping search engines efficiently crawl and index the site’s content. It enhances visibility in search results and improves user navigation.
How do I gather URLs for my sitemap?
You can gather URLs by manually navigating your website’s structure or using automated tools like Screaming Frog or Google Search Console to identify all accessible URLs on your site.
What format should I use for my sitemap?
The most recommended format for sitemaps is XML due to its flexibility and support from search engines. XML sitemaps also allow for additional metadata, improving the way crawlers understand your content.
How do I submit my sitemap to search engines?
To submit your sitemap, use Google Search Console and Bing Webmaster Tools. After verifying your website, enter the sitemap URL and submit it to notify the search engines about your site’s structure.